Our Home

housepost-1
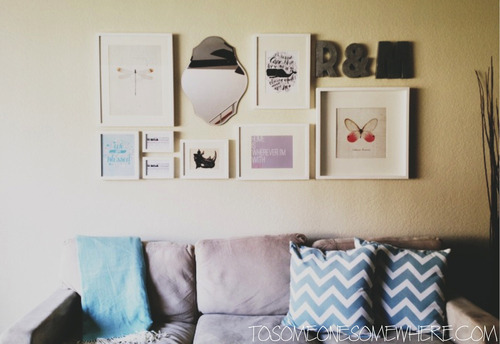
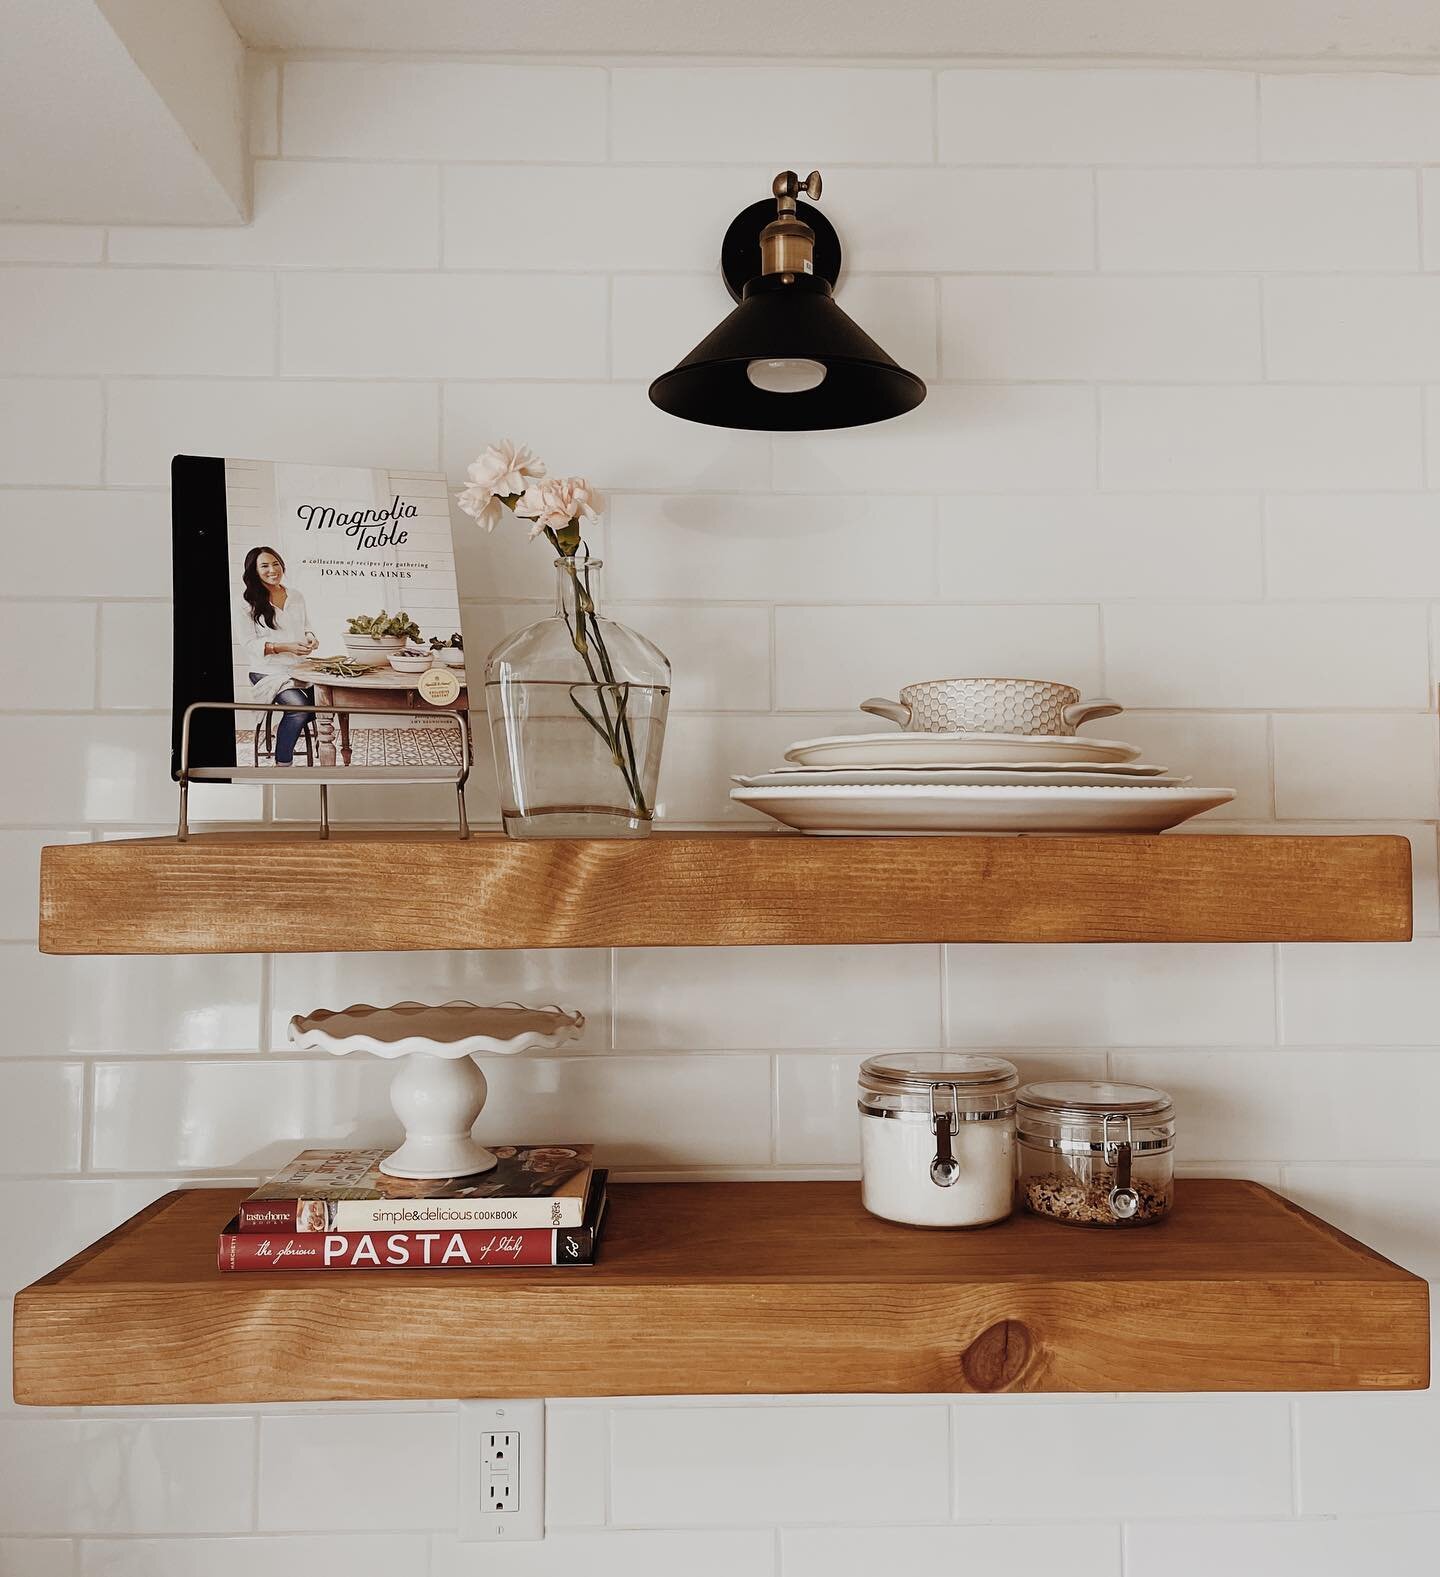
Every year of our marriage we have had to move for one reason or another. It seems by the time we finally feel settled and “home” we end up moving again. But not this time. We were just able to renew our lease for another year! Hip Hip Hooray! Moving every year has been emotionally & physically exhausting (not to mention expensive). I am really just so relieved. So, in honor of that I thought I’d share a few pictures of our space. It’s a continual work in progress, and there’s still a lot I would want to do, but we love it so much and feel so blessed to get to live here for as long as we’re able!

This house is so above & beyond what we ever could’ve hoped for. Our good friend Monty saw that his neighbor was moving, and asked her whether she was renting or selling. When she said that she was renting, Monty said he knew of some people who may be interested (and loved the idea of finding some awesome people to be his new neighbors). It was way out of our price range but Monty showed it to us anyway and was trying to convince us we could do it with a roommate. But we were newly pregnant with our second, and my brothers had just moved back with their mom, and I really needed to have a place to ourselves again. So when we saw it and met the owner we told her we loved the place but that is was over our max budget and so it wouldn’t work out. So several weeks went by and we kept looking, and found a little two bedroom/two bathroom condo in a nearby town and were just about to sign the lease &  put our deposit down. But then that very day who should we get a call from?! The owner of the house… saying she felt like she was supposed to rent to our family AND that she would come down to what we could afford (even though it would be losing money for her)!!

I had been longing for a home with a little more space for our growing family, but everything in Southern California is just so expensive, so we’ve only ever lived in condos. I never really even prayed & asked for it, because it felt selfish. Like I should just be happy with wherever we live and not be so set upon “a house.” But God totally provided and knew the desires of my heart & completely blew us away. So for the same price as a condo we get this amazing three bedroom/three bathroom house by the beach with an ocean view! And the most amazing part is that we are literally neighbors to some of our best friends! We all get to do life together & live in community — which is really what it’s all about!

We are so incredibly thankful and love to share the story because it is such an awesome testimony of God’s amazing provision!


With love,

Monika
housepost-2 housepost-3 housepost-5 housepost-6housepost-4 housepost-7housepic-8

Baby Girl's Nursery

BabyGirlsNursery1 BabyGirlsNursery6
It has been so fun nesting these past few months, and getting baby girl’s nursery ready for her! I can’t believe she will be here in eight weeks (give or take). This pregnancy has gone by so fast & yet so slow at the same time. Funny how that happens!

Her nursery has quickly become my favorite room in the house. I love the natural light in the room and wanted to stick with a light, airy, and simple feel. I chose a pale grey for the walls and accented with blush pinks and a touch of antique gold. At the bottom of this post I listed all the items in the room and where they can be purchased.  :)

BabyGirlsNursery3 BabyGirlsNursery2_1 BabyGirlsNursery4 BabyGirlsNursery5

Crib: DaVinci Jenny Lind, from Target

Rocker: NurseryWorks Empire Rocker, from Fawn & Forest (this was my dream rocker, and way out of my price range. But hubby surprised me by having several of our family members go in on it as a shower present!)

Tassel Garland: From Tuck and Bonte

Throw Pillow: From IvieBaby

Crib Sheet: I Heart Crib Sheet from Land of Nod

Area Rug, Moroccan Pouf/Ottoman, and Lamp: From Target (purchased in store)

Side Table: From Ikea

Gold Frames: From local antique store

Ceramic Owl: 99 cent store (score!)

Gold “E”: Craft store “E” sprayed with glitter gold spray paint

Dresser: Antique given to us by a friend, then we restored & refinished it

Gallery Frames: Purchased on clearance from Joanns and spray painted white

Gallery Prints: Various (some made by my husband, some found on Etsy)

Grey Minky Changing Pad Cover: From ModFox

Ornate Grey Frame: From Target

Grey Caddy: From HomeGoods

Curtains: From Target

White shelves: From Ikea

Chevron Hamper: From Walmart

Grey Feather Basket: From HomeGoods (using this as our toy/stuffed animal basket)

Thanks for stopping by!

Instagram Photo Coasters

Untitled
A few years back I made these coasters, and loved how simple they were. Recently I wanted an upgrade and I thought it would be fun to make instagram photo coasters. I had all the supplies on hand, except for the tiles, so the whole project only cost me $0.64, which makes my frugal heart happy!

Supplies:

  • 4 small ceramic tiles (4.5 × 4.5, can be found at Home Depot or Lowes)
  • 4 of your favorite instagram photos, printed and cut to about 4×4 (I printed mine at home on photo paper)
  • 1 foam sheet
  • Mod Podge
  • Clear Acrylic Coating
  • Paint brush

Directions:

Cut the craft photos very carefully with a paper cutter or scissors. Then spread a thin layer of Mod Podge on the tile (with a paint brush or foam roller). Carefully position the photos, and add one or two coats of Mod Podge over the paper, letting dry between coats.

Cut 16 small squares (four per coaster) out of the foam sheet. Then glue them, using a hot glue gun or strong adhesive, to the bottom corners of the tile.

Then simply take the coasters outdoors and spray with a water-resistant Clear Acrylic Coating, following the directions on the can. I did two coats, which seemed to work out fine.

Note: If you want finished edges you can sand the edges of the tile and paint white

Untitled Untitled Untitled

Gallery Wall

I’ve pretty much always wanted a gallery wall in every place we’ve ever lived. But I knew it would be a big project, taking both time & money. When we recently moved into our new place, we decided to go for it. A gallery wall would be perfect for the wall behind our couch, and would add interest to the space. So we started googling ideas and tried to nail down what what look we wanted (which took some time). We decided to go with white frames and to add a few “intrigue” pieces to add depth. We headed over to ikea and purchased several assorted frames, and then from there we searched for the other pieces. We found the block letters at Anthropology, and the beveled mirror at Target.

Then we moved on to the daunting task of arranging and rearranging the pieces into a shape that we both liked. We must’ve sat on our living room floor for 2+ hours trying to figure it out. Once we finally got an arrangement we liked, it was time to hang. God bless my sweet husband. That was quite the task and he handled it well.

We filled the frames with some pieces we made ourselves, some we bought, and some we found online. Ryan designed a print for our wedding vows, which we now have up in the two smaller frames.

It was a big project, but we love how it turned out and think it was worth the hard work! ♥

Untitled Untitled

Necklace Display


Until recently, my necklaces were in a tangled heap in a little jewelry box. I’m usually rushing out the door, which means little time to choose a necklace and then untangle it. I decided I wanted to get organized. I loved the idea of displaying my necklaces on the wall, so I went on a hunt for some cute hooks. I found these ones at Urban Outfitters, hung them on the wall, and finally untangled my jewelry. I am happy with the results… It definitely makes accessorizing a little bit easier!