Sew Simple (see what I did there?)

Untitled
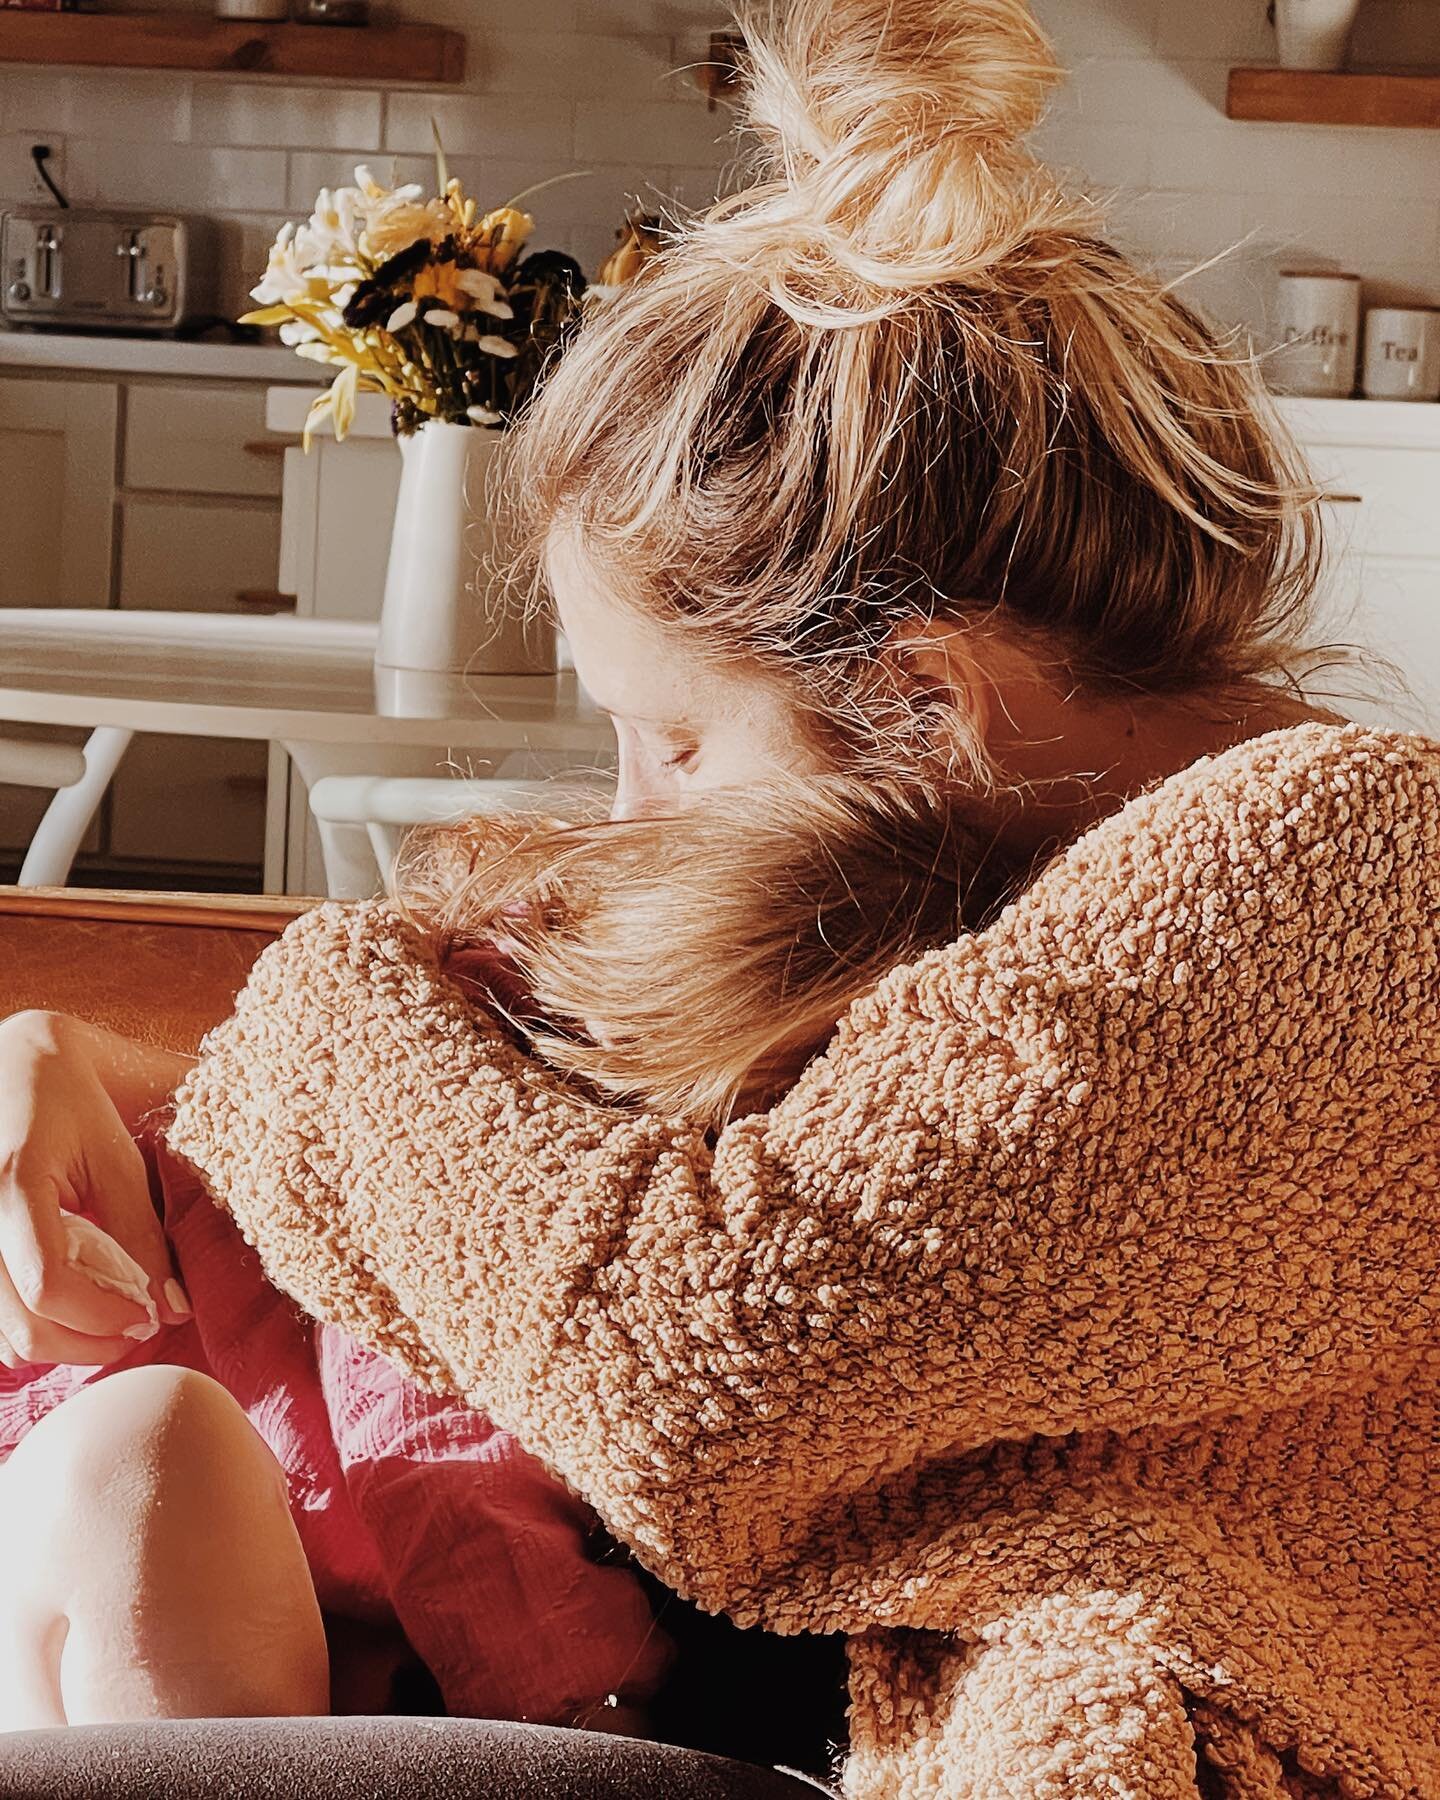
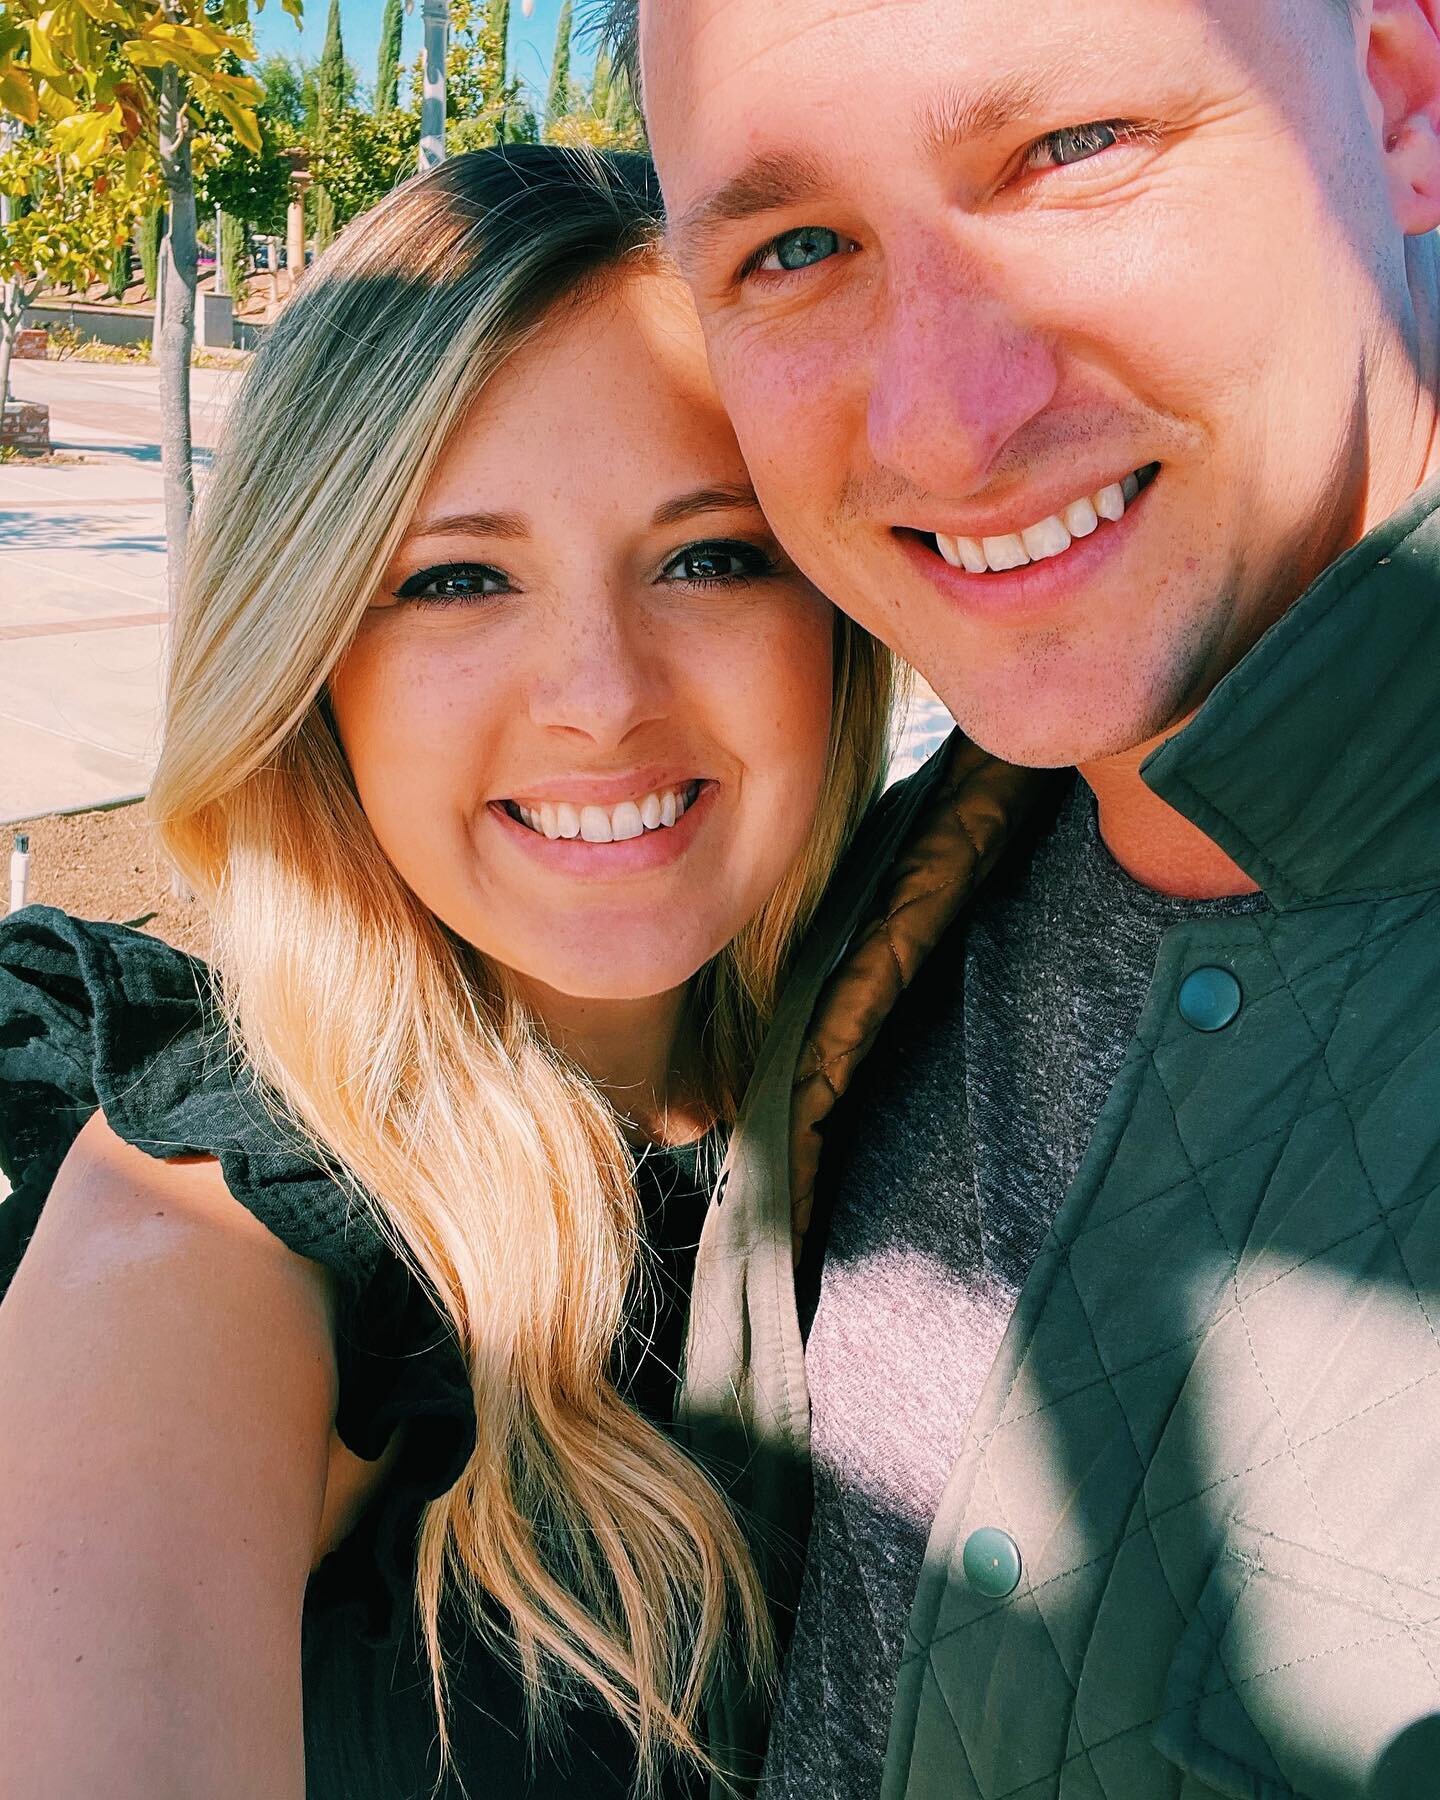
Yesterday was my birthday, which snuck up on me rather quickly! Since I’m 39 weeks pregnant we decided to keep it low-key and enjoy one last date night with just the two of us before this baby comes. So we did the classic dinner & a movie and it was really nice. :)

For my birthday this year I really wanted a sewing machine. I’ve always wanted to learn, and was ready to get my own machine and finally do it! So hubby granted my wish and got me one for my birthday (which he gave to me early, over the weekend). I’m already loving it and really enjoying making some fun baby things. Plus, it provides a great distraction while I anxiously await baby girls arrival!

So for my first few projects I decided to make some baby leggings, some turban headbands for baby & mama, newborn knotted hats, and a receiving blanket. These four projects are great for beginners or anyone else wanting to make some cute new things for their precious little ones! The links to the tutorials I used are below. I used stretchy knit fabric, all purchased at Joanns (with coupons, of course!).

1. Baby Leggings Tutorial
2. Turban Headband Tutorial
3. Knotted Newborn Hat Tutorial (Note: I did not serge my ends, just sewed the whole project with a twin needle. Also, when I cut out the pattern, I cut out the top part for the knot a bit smaller, due to personal preference)
4. Receiving Blanket: I didn’t follow a tutorial. I used a double sided knit fabric, cut the size I wanted, and folded in all sides about ¼ inch and then folded in again another ¼ inch (ironing each time) and pinned in place. Then sewed with a twin needle.

Happy Sewing!

Simple Clip-On Infant Bow Tie & Hair Bow Tutorials

SimpleBowTieTutorialMain
Super excited about these adorable clip-on infant bow ties and hair bows. They are simple & quick to make, and make for a fun craft to do with friends (Umm… dessert & craft party anyone?). They are also economical, the only thing I didn’t already have on hand is the clips & barrettes… which were under $3 a pack at the craft store. When I got the idea for the clip-on bow ties, I was originally looking for a stronger clasp for the back. But I searched three stores and couldn’t find what I wanted, so I improvised and used the clip-on earring backs. It actually worked out great! They glued on very securely, were small enough to not be seen in the front, and easily clip-on to a onesie. I will say that they are better for infants, as a toddler could easily pull off the bow tie. If you are making a bow tie for a toddler or young boy, you can purchase actual bow tie clips here.

Also, I would not recommend running these through the wash. I would only gently hand wash if & when needed.

See below for the full tutorial! Let me know if you have any questions! :)

Bowtietutorial1

What You’ll Need:

-Hot Glue Gun & Glue
-Felt in colors of your choice
-Measuring stick
-Scissors
-For Bow Ties: Clip-on earring backs (available in jewelry section of your local craft store)
-For Hair Bows: Hair clip/barrette (available at your local craft store)

bowtietutorial2-3

Begin by measuring out and cutting the felt for your bow ties. You can adjust the size to your liking, but the measurements I used are 1.5 in. X 4 in. and .5 X 2 in.

Bowtietutorial11

I went ahead and cut out all of my felt. Pieces should resemble the above.

bowtietutorial4-5

Place small amount of hot glue in the center of your fabric, and fold edges in. Press firmly until set.

bowtietutorial6-7

Now fold back the edges of the center, and use hot glue to secure in place.

Bowtietutorial8

Your bow tie should now look like the above photo.

bowtietutorial9-10

Next, use the smaller strip of fabric to wrap around the center piece. Find your placing on the front, then turn over and glue to the back. I glued one end down, then glued the the other end over that.

Bowtietutorial12

Repeat for any other colors/bows you want to make.

bowtietutorial13-16

Now it’s time to glue on the clip-on earring. I attached it slightly more towards the bottom of the bow, so the top of the clasp isn’t seen. Use hot glue and hold firmly in place until set. Should feel pretty secure once it dries.

That’s it! Now just clip on to a onesie and put it on a cute little babe.

bowtutorialedited

And now for the hair bow/barrette! It’s the same steps as used above, but I used smaller measurements and attached the hair clip (as seen below).

hairbow22-25

When you are wrapping the strip of fabric around the bow, glue on the hair clip by wrapping the felt around the top of the clip and gluing in place. (Leave the bottom part of the clip open as that is what you will clip onto your hair).

So easy you could make one in every color! Would be so darling on a little tot. Wishing mine was here to model them for you (only 8 weeks to go!).

Thanks for checking out this tutorial! Be sure to share with your friends!

Simple (No Sew!) Baby Headband Tutorial

Headbands Tutorial.001 HeadbandTutorial15
Ever since finding out that we were having a little girl, I have been on a headband making frenzy. I just love it. This simple felt headband is easy to make, and few supplies are needed. It’s easy enough that even those of you who don’t consider yourselves very “crafty” can do it! Once you get the hang of it, you can even play around with different colors & looks. See below for the full tutorial!

HeadbandTutorial1

What You’ll Need:

-Hot glue gun & glue
-Scissors
-Felt in color of your choice
-Centerpiece for flower (I used a pearl button, made by sew-ology)
-Handband (I used these little cream ones by Creations of Grace, found at Hobby Lobby. Or you can use elastic)

HeadbandTutorial2

Begin by cutting out 6 circles, approximately 2-2.5 inches in diameter. I usually trace out the first one, and then use that one as a guide to measure out the others. Don’t worry about the circles being too perfect, as you won’t really be able to tell once it’s finished.

HeadbandTutorial3.6.

Begin making your flower petals following the steps above. You want to make four petals total.

HeadbandTutorial7

Now you should have your four flower petals, and two leftover circles.

HeadbandTutorialcol

Begin gluing the petals to one of the remaining circles, which will serve as the flower base.

HeadbandTutorial10

After you finish gluing the petals it should resemble the above photo.

HeadbandTutorial11

Now it’s time to glue on your centerpiece. Simply place a small dollop of hot glue in the center and place your centerpiece. Press firmly until it sets. Sidenote: instead of using a centerpiece, you can also make a fifth flower petal (so 7 total felt circles, instead of 6), and glue that in the center. Shown in the last photo of this post.

HeadbandTutorial12

Now you want to get the flower onto the headband. Cover the back of the flower with hot glue. Place seam of the headband on the back, and cover with the final felt circle. Tip: carefully glue the headband to the flower, making sure it’s not twisted anywhere before gluing.

HeadbandTutorial13

Press firmly and smooth out until glue sets.

HeadbandTutorial16

Fluff up the petals with your fingers so it’s not too flat, and Voila! Now sit back and admire your craftsmanship!

Headbands Tutorial.002

This particular one I made as a gift for a friends baby shower. I wrapped it around card stock and placed it in a cute box. Makes a nice handmade gift! :)

HeadbandTutorial18

Once you get the hang of it you can experiment with different colors & arrangements. In the ones shown above, instead of using a centerpiece, I made a fifth petal and glued that in the center. Gives it a little more casual look.

Thanks for checking out this tutorial! Hope you enjoy it! xo

DIY Christmas Wreath

Untitled
Hope you all had a wonderful Thanksgiving! Now that Christmas season is officially here, I decided to make a Christmas wreath for our front door. I’ve never made a wreath before so I wasn’t sure how it’d turn out, but I am pretty happy with the results! It cost me less than $15 to make, so that makes my frugal heart happy! A list of the supplies I used and where I bought them is below. To make the felt rosettes I used this tutorial. I didn’t follow a tutorial for the poinsettia flower, just kind of winged it. But if you’re wanting to make something similar, I found this tutorial that might help you. After making the flowers, I just picked an arrangement I liked, and hot glued them straight to the wreath. Then I carefully hot glued the “K” and the bow, and voila!

Supplies I used:

-Grapevine wreath – I bought at Joann’s for $3.99

-Felt – from Joanns, on sale for $2.49 per yard

-White Wooden “K” – from Joann’s $4.99

-Burlap bow – from the dollar section at Target $1

Untitled Untitled

Instagram Photo Coasters

Untitled
A few years back I made these coasters, and loved how simple they were. Recently I wanted an upgrade and I thought it would be fun to make instagram photo coasters. I had all the supplies on hand, except for the tiles, so the whole project only cost me $0.64, which makes my frugal heart happy!

Supplies:

  • 4 small ceramic tiles (4.5 × 4.5, can be found at Home Depot or Lowes)
  • 4 of your favorite instagram photos, printed and cut to about 4×4 (I printed mine at home on photo paper)
  • 1 foam sheet
  • Mod Podge
  • Clear Acrylic Coating
  • Paint brush

Directions:

Cut the craft photos very carefully with a paper cutter or scissors. Then spread a thin layer of Mod Podge on the tile (with a paint brush or foam roller). Carefully position the photos, and add one or two coats of Mod Podge over the paper, letting dry between coats.

Cut 16 small squares (four per coaster) out of the foam sheet. Then glue them, using a hot glue gun or strong adhesive, to the bottom corners of the tile.

Then simply take the coasters outdoors and spray with a water-resistant Clear Acrylic Coating, following the directions on the can. I did two coats, which seemed to work out fine.

Note: If you want finished edges you can sand the edges of the tile and paint white

Untitled Untitled Untitled